PostgreSQL, also widely known as Postgres, is a powerful but open-source relational database management system. It is widely used for web applications, data warehousing, and analytics due to its scalability and robust features. Amazon Linux 2, on the other hand, is a server Linux distro specifically designed to use on Amazon Web Services (AWS) cloud platform.
Here we will go through the steps and learn the commands to install PostgreSQL version 14 on Amazon Linux 2 server running locally or on AWS EC2.
Prerequisites:
Let’s first confirm, you have all the necessary things to follow this tutorial:
- Amazon Linux 2 server either on a local virtual machine, Docker, or AWS EC2 Instance.
- At least 1GB of free Hard disk space, 2GB of RAM, and a single-core CPU
- To install packages we need sudo or root user access
- Ofcourse, an active internet connection to download the PostgreSQL packages
Step 1: Download and Install Updates
The first step in the direction of installing PostgreSQL on Amazon Linux 2 is to make sure our server is up to date. Therefore, in your command terminal use the Yum and run the system update command. This will ensure we have the latest packages and up-to-date repository cache.
sudo yum updateStep 2: Adding Postgresql 14 Yum repository
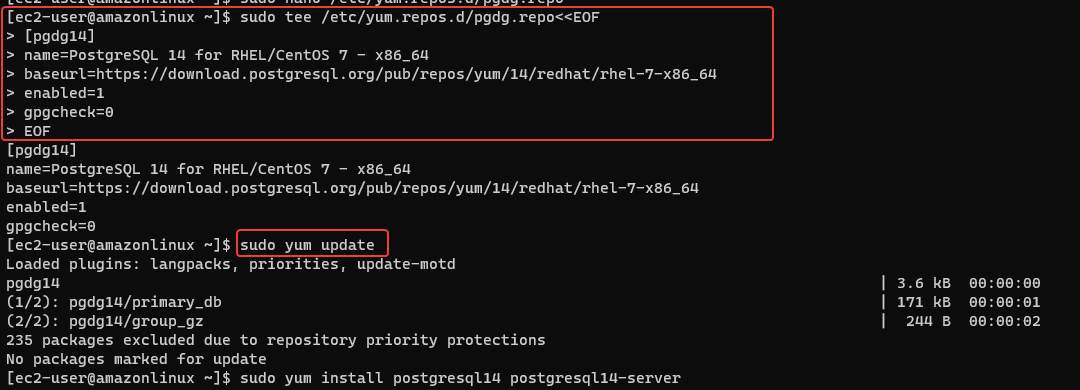
We don’t need to add an extra Yum repository on Amazon Linux 2 to install PostgreSQL. Because it is available through the default system repository. But the version available using it is PostgreSQL 9, which is quite old. Therefore, those who are interested in Postgresql 14 need to add the PGDG14 repo manually using the command given below:
Copy the whole block of the given command and paste it as it is:
sudo tee /etc/yum.repos.d/pgdg.repo<<EOF

[pgdg14]

name=PostgreSQL 14 for RHEL/CentOS 7 - x86_64

baseurl=https://download.postgresql.org/pub/repos/yum/14/redhat/rhel-7-x86_64

enabled=1

gpgcheck=0

EOF
After adding the repo, run the system update command, once again.
sudo yum update
Step 3: Installing Postgresql 14 on Amazon Linux 2
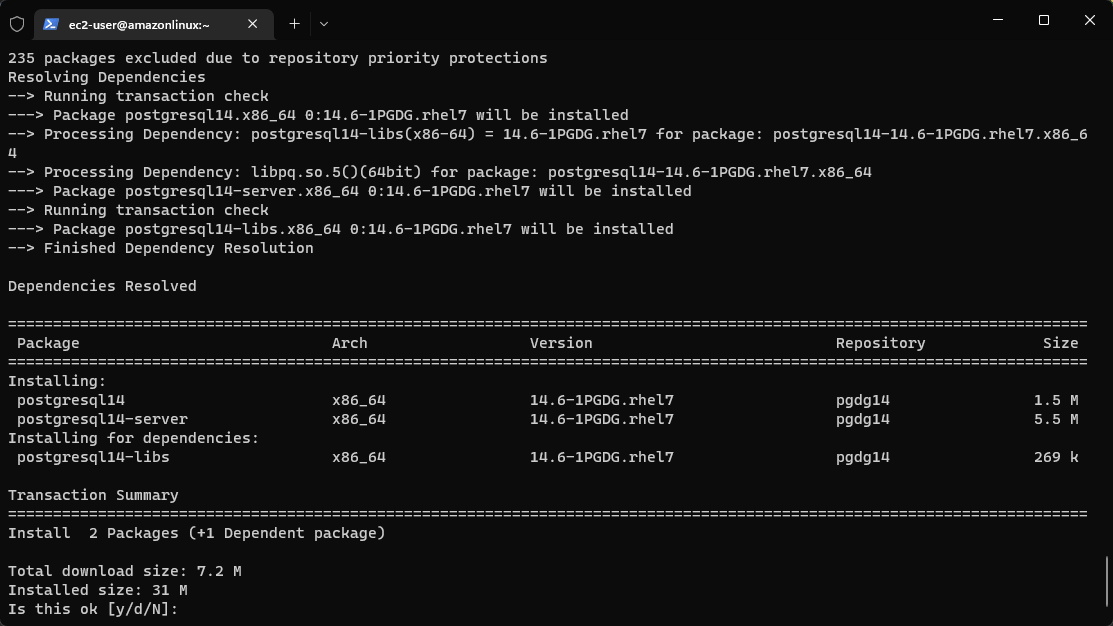
After adding the repo and updating the package repository, we can install the PostgreSQL package and its dependencies on Amazon Linux like any other software via YUM.
sudo yum install postgresql14 postgresql14-server
Step 4: Initialize the Database
We have followed all the necessary steps so far to have a working PostgreSQL Database on our Linux system. Now, before starting and enabling the service of the Database, let’s initialize it. For that use initdb which will create a new PostgreSQL database cluster refers to a collection of databases managed by a single server instance.
sudo /usr/pgsql-14/bin/postgresql-14-setup initdbIn return you will get:
Initializing database ... OKStep 5: Start and Enable the PostgreSQL Service
If you got Initializing database ... OK that means everything is fine and we can start the Database server services, using:
sudo systemctl start postgresql-14Well, we should also mark the service of PostgreSQL enabled, so that it can start atomically, if crashed or with system boot.
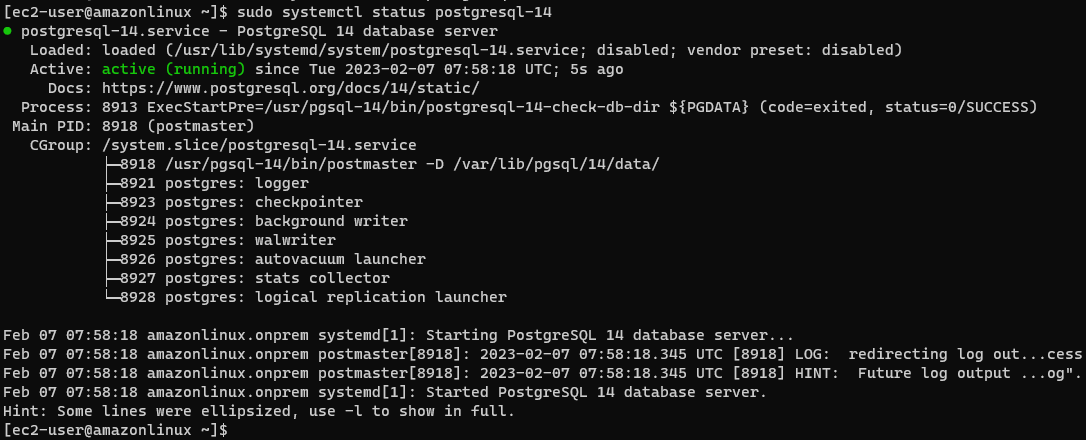
sudo systemctl enable postgresql-14To confirm it is working without producing any error, use:
sudo systemctl status postgresql-14
Step 6: Configure PostgreSQL
Few things which a user would like to perform on its newly installed Linux database server.
1. Change the Admin database password
To make sure our PostgreSQL is secured with a strong password, set a password for its system user and default database admin user account using the below-given commands-
Change user password
sudo passwd postgresLogin using Postgres system account-
su - postgresNow, change the Admin database password-
psql -c "ALTER USER postgres WITH PASSWORD 'your-password';"Note: Replace “your-password” in the above command with a secure password that you want to set for the admin database user.
2. Primary configuration file
So, far we have learned all the key things to make PostgreSQL up and running without any warnings in Amazon Linux. To perform any further configurations, users need to access the primary configuration file of PostgreSQL located at /var/lib/pgsql/"version"/data/postgresql.conf.
We can edit this file with text editors such as VIM or Nano.
sudo nano /var/lib/pgsql/14/data/postgresql.confDon’t arbitrarily change anything from this file because it may result in the malfunctioning of the Database server. It is good to take a backup of the file before performing any addition.
sudo cp /var/lib/pgsql/14/data/postgresql.conf /var/lib/pgsql/14/data/postgresql.conf.bakNow, we have the backup, if something happens wrong we can use it. Well, there are several configuration options that you can set in this file, but we will focus on the most important ones.
4. Listen to the Address
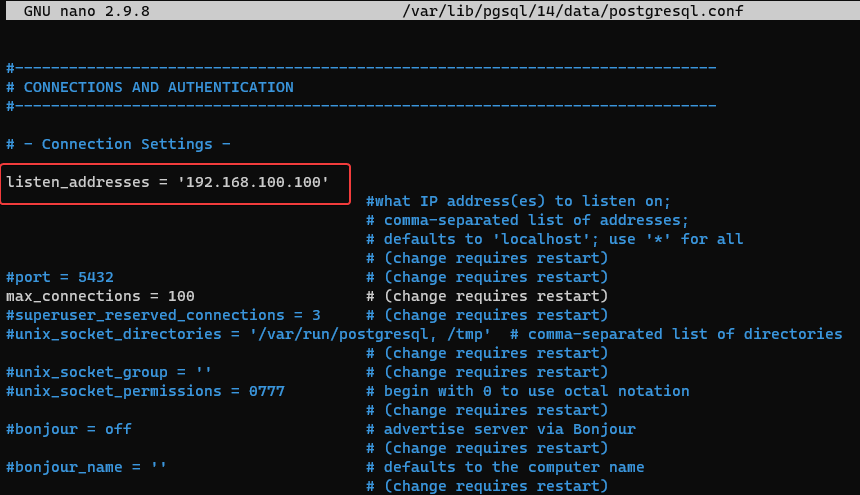
By default, the PostgreSQL server will listen to only localhost. But, if you want it to answer for a specific IP address or range or all addresses, we can do that by changing the value of the listen_addresses option in the configuration file:
Find it and remove the # given in front of the option. After that add the address that you want the server to only listen to.
listen_addresses = 'localhost'or
For all Ip-addresses use:
listen_addresses = '*'To save the changes press Ctrl+O, and hit the Enter key. To exit use Ctrl+X.

5. Authentication
For Authentication, there is a separate file called “pg_hba.conf” apart from the Primary configuration file in the same directory.
Well, by default; PostgreSQL allows all DB users and hosts locally to connect to the database with a peer or scram-sha-256 method. If you want to change that, we can edit the pg_hba.conf file and set the authentication method to md5.
To edit this file, run the following command:
sudo nano /var/lib/pgsql/14/data/pg_hba.confFind the line as given below and replace the scram-sha-256 with any other method you want to use such as md5.
# "local" is for Unix domain socket connections only
local   all             all                                     peer
# IPv4 local connections:
host    all             all             127.0.0.1/32            scram-sha-256
# IPv6 local connections:
host    all             all             ::1/128                      scram-sha-256
Note: Also to connect remotely using PSQL utility, change 127.0.0.1/32 to 0.0.0.0/0 and ::1/128 to ::0/0
credits: https://linux.how2shout.com/how-to-install-postgresql-14-on-ec2-amazon-linux-2/
